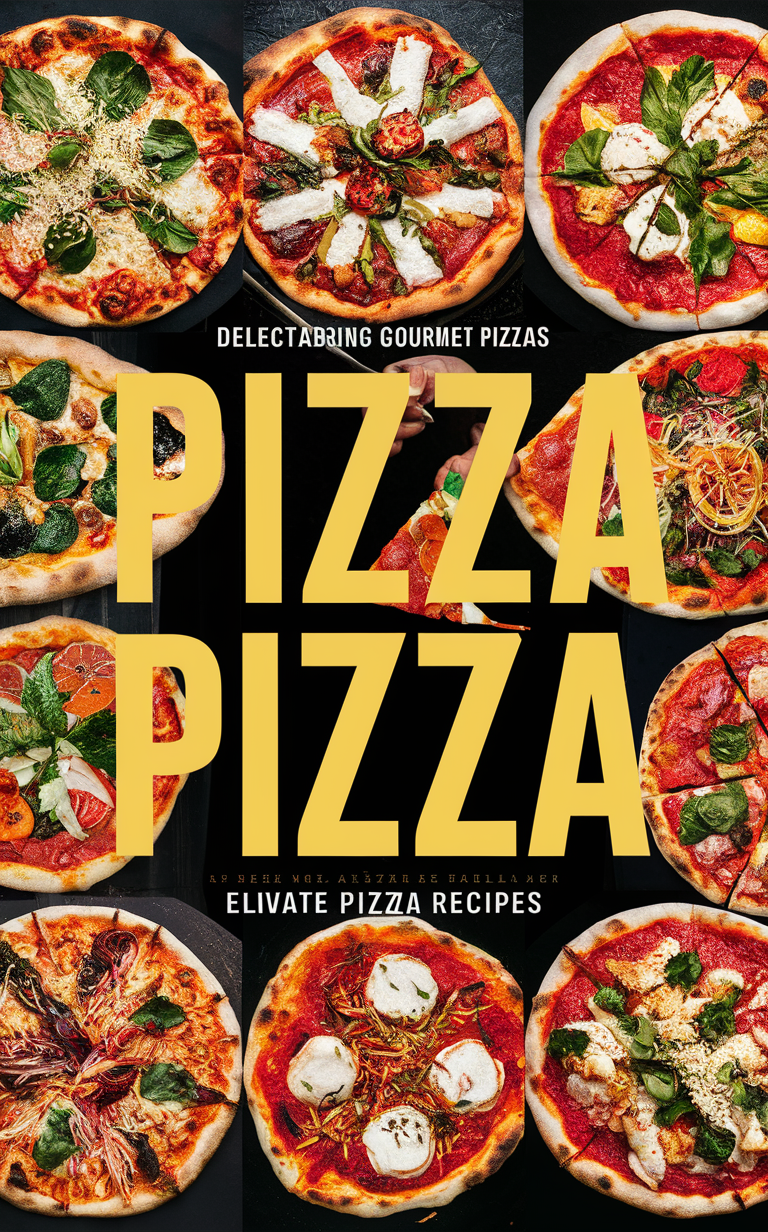
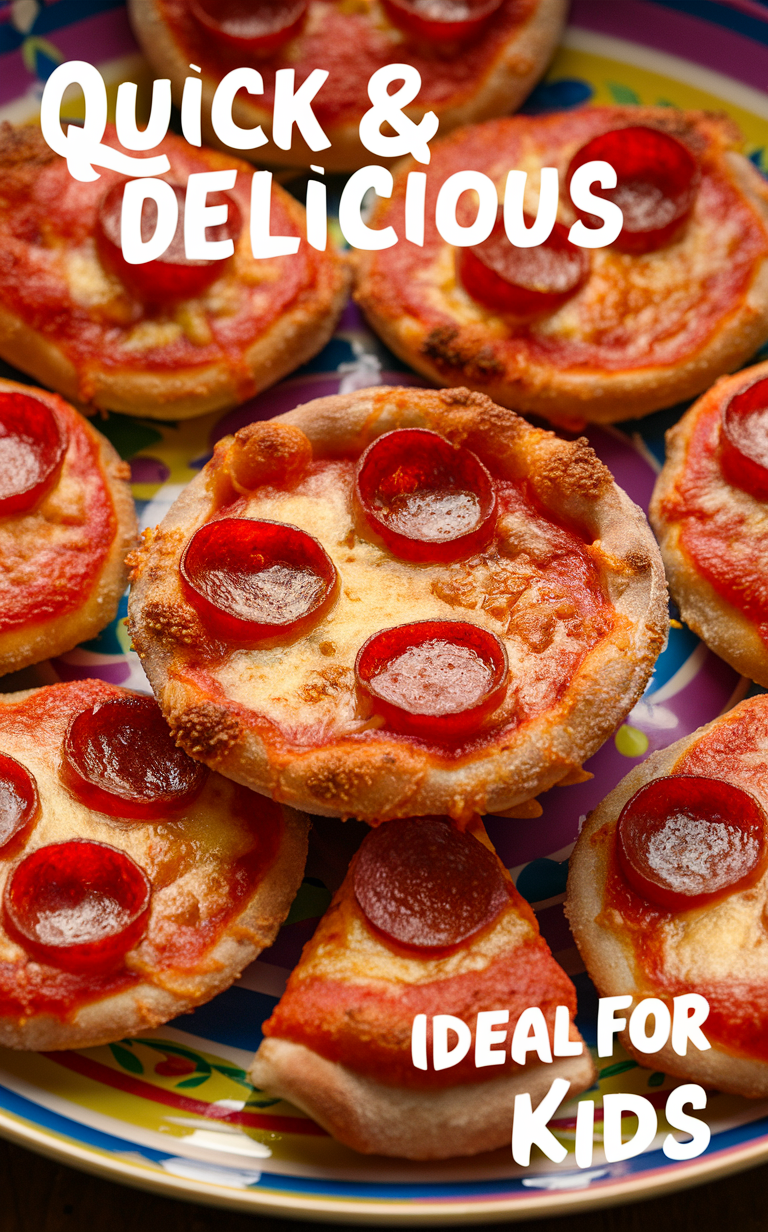
Quick & Delicious Pepperoni Pizza Minis Ideal for Kids
Disclosure: This post contains affiliate links. We may earn a commission at no extra cost to you.
Cook Tool Requirements
Click Here to Grab Your PAUDIN Kitchen Knife Set
Click Here to Grab Your Large Bamboo Cutting Boards
Click Here to Grab Your Cast Iron Skillet
Click Here to Grab Your Measuring Cups and Spoons
Click Here to Grab Your Silicone Spatula Set
Click Here to Grab Your Mixing Bowls
Click Here to Grab Your Instant-Read Thermometer
Click Here to Grab Your Non-Stick Frying Pan
Click Here to Grab Your Tongs For Cooking
Click Here to Grab Your Microplane Zester
Click Here to Grab Your Colander
Now—Available on Amazon!
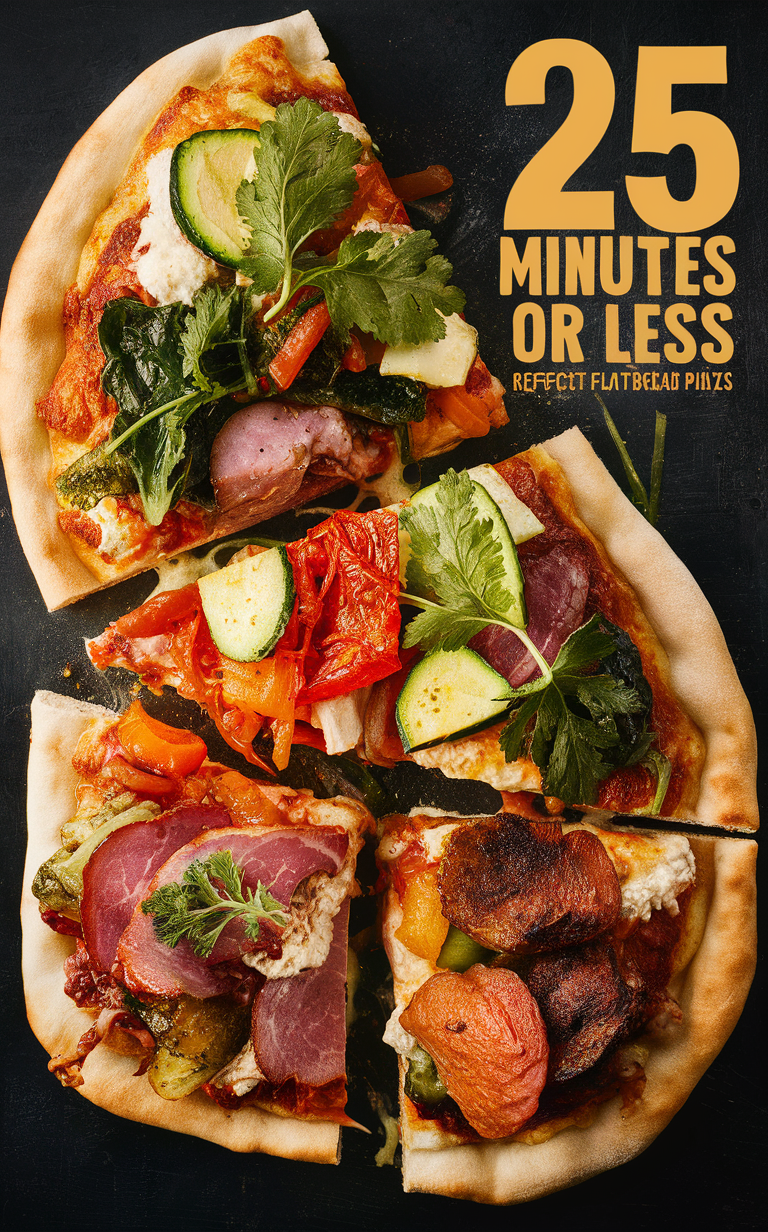
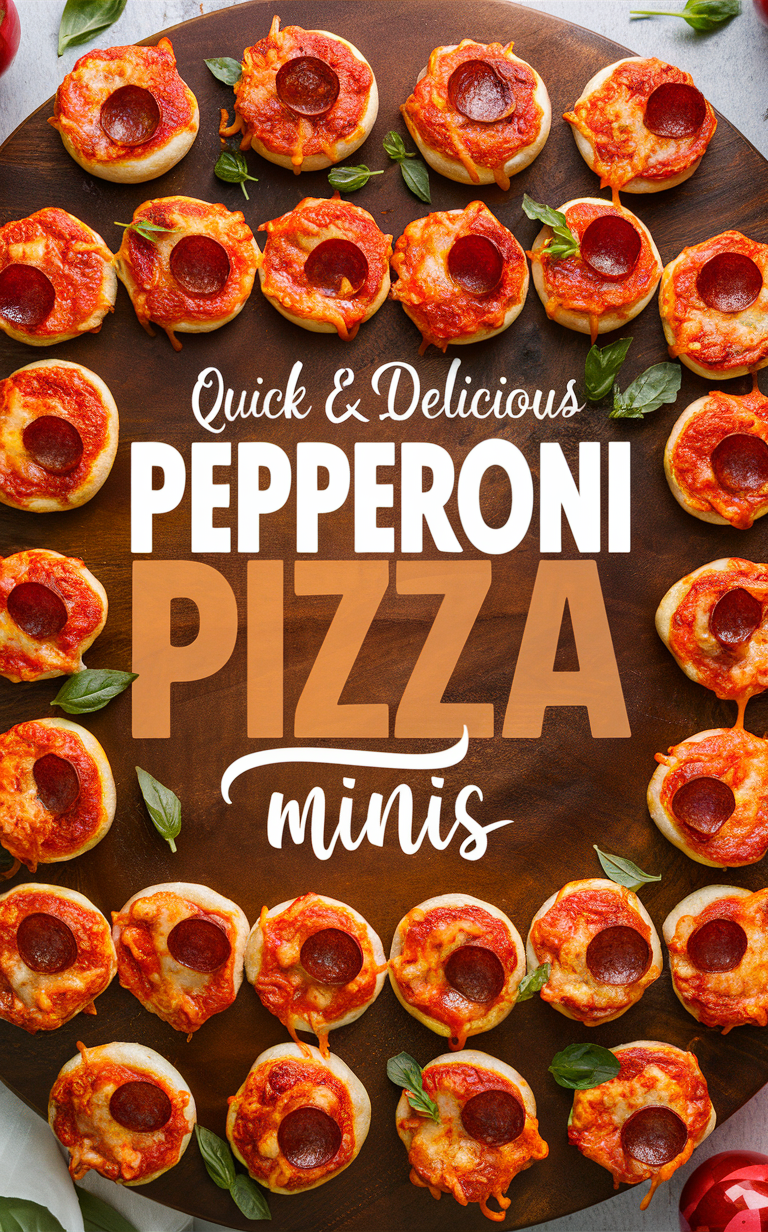
Quick & Delicious Pepperoni Pizza Minis – Ideal for Kids and Parties
Ingredients and Quantities:
For 1 person:
- Mini pizza crusts – 1
- Marinara sauce – 2 tbsp
- Shredded mozzarella cheese – 1/4 cup
- Pepperoni slices – 6
- Optional toppings: diced bell peppers, olives
For 3 people:
- Mini pizza crusts – 3
- Marinara sauce – 6 tbsp
- Shredded mozzarella cheese – 3/4 cup
- Pepperoni slices – 18
- Optional toppings: diced bell peppers, olives
Nutrition Facts:
Calories per serving: 250 | Carbs: 22g | Protein: 12g | Gluten content: Contains gluten
Preparation:
Time: 15 minutes | Level: Easy | Cuisine Type: Italian
- Preheat the oven to 375°F (190°C).
- Spread marinara sauce on each mini pizza crust.
- Top with shredded mozzarella cheese, pepperoni slices, and optional toppings.
- Bake in the oven for 10-12 minutes until the cheese is melted and bubbly.
Why People Love It:
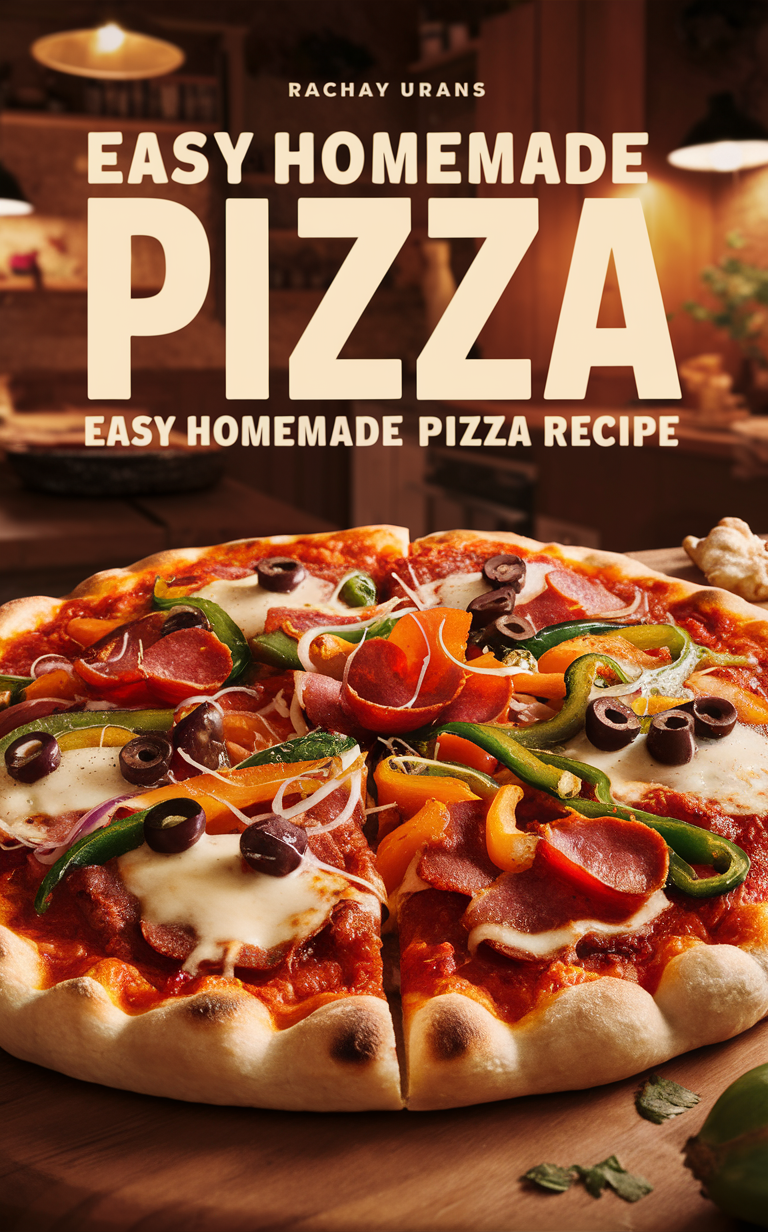
These pepperoni pizza minis are loved for their quick preparation, delicious flavors, and kid-friendly size. They are perfect for parties and gatherings.
Best Occasions to Make It:
These pizza minis are ideal for kids’ birthday parties, game nights, or as a fun snack for movie marathons. Serve them with a side of marinara sauce for dipping!
Pro Tip: Customize the toppings to suit your preferences – try adding mushrooms, onions, or different types of cheese for variety.

Install , search , Coook and enjoy our recipes

Quick & Delicious Pepperoni Pizza Minis – Ideal for Kids and Parties
Are you looking for a quick and delicious snack that will please both kids and party guests? Look no further than these Pepperoni Pizza Minis! These mini pizzas are perfect for busy weeknights or as a crowd-pleaser at your next gathering. They are easy to make and can be customized with your favorite toppings.
How to Make It More Healthy
To make this recipe healthier, you can use whole wheat or gluten-free pizza dough, load up on veggies like bell peppers and mushrooms, and opt for turkey pepperoni or a plant-based alternative. You can also use low-fat cheese or dairy-free cheese to reduce the calorie content.
Country of Origin
The recipe for these Pepperoni Pizza Minis is inspired by traditional Italian pizza but with a fun twist that makes them perfect for kids and parties.
Best Time to Make It
These Pepperoni Pizza Minis are versatile and can be enjoyed at any time of day. They make a great quick breakfast, a tasty lunch option, or a fun dinner idea for the whole family. They are also perfect for serving at parties as appetizers or snacks.
The Inspiration Behind the Recipe
The inspiration for these Pepperoni Pizza Minis comes from the love of classic pizza flavors in a convenient and bite-sized form. They are inspired by traditional pepperoni pizza but with a twist that makes them perfect for kids and parties.
Best Way to Storage
To store any leftover Pepperoni Pizza Minis, place them in an airtight container in the refrigerator for up to 3 days. You can also freeze them for longer storage. To reheat, simply pop them in the oven or microwave until warmed through.
5 Things to Avoid While Making the Recipe
- Avoid overloading the mini pizzas with toppings, as they may become soggy.
- Avoid burning the pizza crust by keeping an eye on them while baking.
- Avoid using too much sauce, as it can make the mini pizzas messy to eat.
- Avoid overcrowding the baking sheet, as the mini pizzas need space to cook evenly.
- Avoid overbaking the mini pizzas, as they can become dry and tough.
How To Make It Gluten Free
To make these Pepperoni Pizza Minis gluten-free, use a gluten-free pizza dough or a cauliflower crust as the base. Ensure that all toppings and ingredients are also gluten-free certified to avoid cross-contamination.
How To Make It Dairy Free
To make these Pepperoni Pizza Minis dairy-free, use dairy-free cheese alternatives such as vegan mozzarella or nutritional yeast. You can also skip the cheese altogether and opt for a flavorful sauce and veggie toppings.
5 Common Questions with Answers
- Can I make these pizza minis ahead of time? Yes, you can prepare the mini pizzas ahead of time and store them in the refrigerator or freezer until ready to bake.
- Can I customize the toppings on these mini pizzas? Absolutely! Feel free to get creative with the toppings and add your favorite ingredients to make these pizza minis your own.
- Are these Pepperoni Pizza Minis kid-friendly? Yes, these mini pizzas are perfect for kids as they are small, easy to eat, and packed with classic pizza flavors that kids love.
- Can I make these mini pizzas in a muffin tin? Yes, you can use a muffin tin to bake these mini pizzas for a fun and unique presentation.
- Can I freeze these Pepperoni Pizza Minis? Yes, you can freeze the mini pizzas for later enjoyment. Simply thaw and reheat before serving.