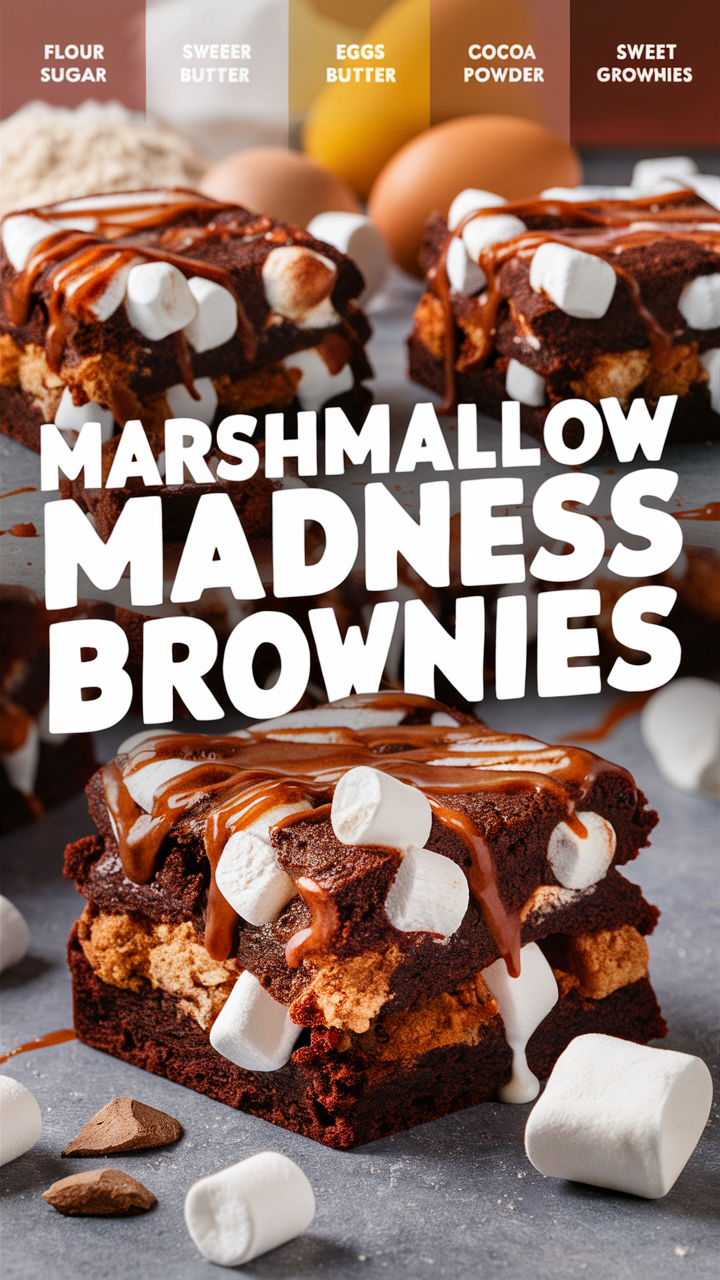
Marshmallow Madness Brownies
Disclosure: This post contains affiliate links. We may earn a commission at no extra cost to you.
Cook Tool Requirements
Click Here to Grab Your PAUDIN Kitchen Knife Set
Click Here to Grab Your Large Bamboo Cutting Boards
Click Here to Grab Your Cast Iron Skillet
Click Here to Grab Your Measuring Cups and Spoons
Click Here to Grab Your Silicone Spatula Set
Click Here to Grab Your Mixing Bowls
Click Here to Grab Your Instant-Read Thermometer
Click Here to Grab Your Non-Stick Frying Pan
Click Here to Grab Your Tongs For Cooking
Click Here to Grab Your Microplane Zester
Click Here to Grab Your Colander
Now—Available on Amazon!Marshmallow Madness Brownies Recipe
Ingredients:
- 1 cup all-purpose flour
- 1/2 cup unsweetened cocoa powder
- 1 cup sugar
- 1/2 cup butter, melted
- 2 eggs
- 1 tsp vanilla extract
- 1/2 cup mini marshmallows
Preparation:
For 1 person:
- Preheat the oven to 350°F.
- In a bowl, mix the flour, cocoa powder, and sugar.
- Add the melted butter, eggs, and vanilla extract, and mix until well combined.
- Stir in the mini marshmallows.
- Pour the batter into a greased baking pan and bake for 25-30 minutes.
For 3 people:
- Double the ingredients listed above.
- Follow the same preparation steps for 1 person, but adjust baking time accordingly.
Details:
Time Preparation: 45 minutes
Level: Easy
Cuisine Type: Dessert
Nutrition Facts:
Calories per serving: 200
Carbohydrates: 30g
Protein: 3g
Gluten Content: Contains gluten
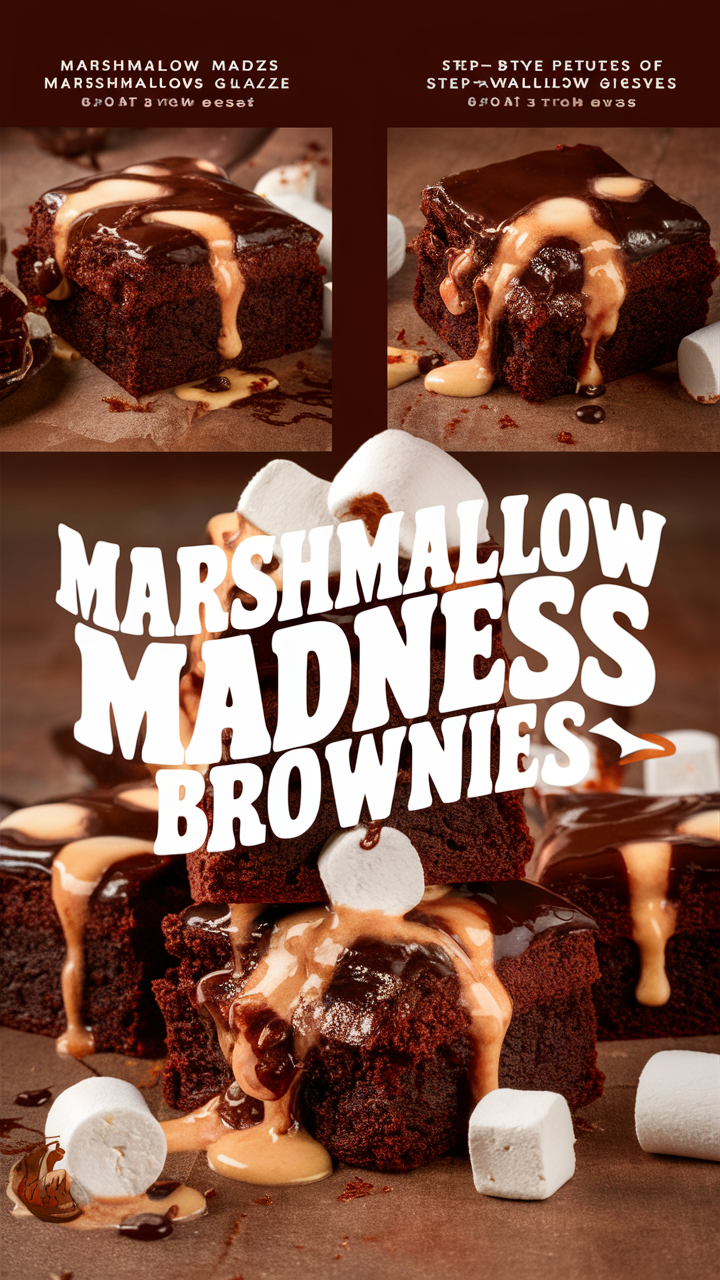
Pro Tip: Serve warm with a scoop of vanilla ice cream for the perfect indulgence!

Install , search , Coook and enjoy our recipes

Marshmallow Madness Brownies
Are you ready for a sweet and gooey treat that will satisfy your cravings for chocolate and marshmallows? Look no further than these Marshmallow Madness Brownies! This recipe combines the rich and fudgy goodness of brownies with the fluffy and sweet taste of marshmallows. It’s a match made in dessert heaven!
How to Make It More Healthy
If you’re looking to make this indulgent treat a bit healthier, consider using whole wheat flour, coconut sugar, and dark chocolate chips. You can also add in some nuts or dried fruit for extra fiber and nutrients.
Origin Country of Recipe
The origins of this delicious recipe are a bit mysterious, but it’s safe to say that chocolate and marshmallows have been a beloved combination for many years. You can find variations of this dessert in many countries around the world.
Best Time to Make It
While these Marshmallow Madness Brownies are perfect for any time of day, they make a decadent and satisfying dessert after dinner. Pair them with a scoop of vanilla ice cream for an extra special treat!
The Inspiration Behind the Recipe
The inspiration behind these Marshmallow Madness Brownies comes from the classic combination of chocolate and marshmallows found in s’mores. This recipe takes that beloved flavor profile and transforms it into a rich and indulgent dessert.
Best Way to Store
To keep your Marshmallow Madness Brownies fresh and delicious, store them in an airtight container at room temperature for up to 3 days. You can also freeze them for up to 3 months for longer storage.
How To Make It Gluten Free
To make these brownies gluten-free, simply use a gluten-free flour blend in place of regular flour. Make sure to check all other ingredients for hidden sources of gluten, such as malt flavoring or barley malt.
How To Make It Dairy Free
To make these brownies dairy-free, use dairy-free chocolate chips and a plant-based butter or oil in place of butter. You can also use a dairy-free milk alternative in the recipe.
5 Things to Avoid While Making the Recipe
- Avoid overmixing the batter, as this can lead to tough brownies.
- Avoid overbaking the brownies, as they will continue to cook slightly after being removed from the oven.
- Avoid opening the oven door too often while baking, as this can cause the brownies to sink in the middle.
- Avoid using old or expired baking powder or baking soda, as this can affect the rise of the brownies.
- Avoid cutting the brownies too soon after baking, as they need time to set and cool before slicing.