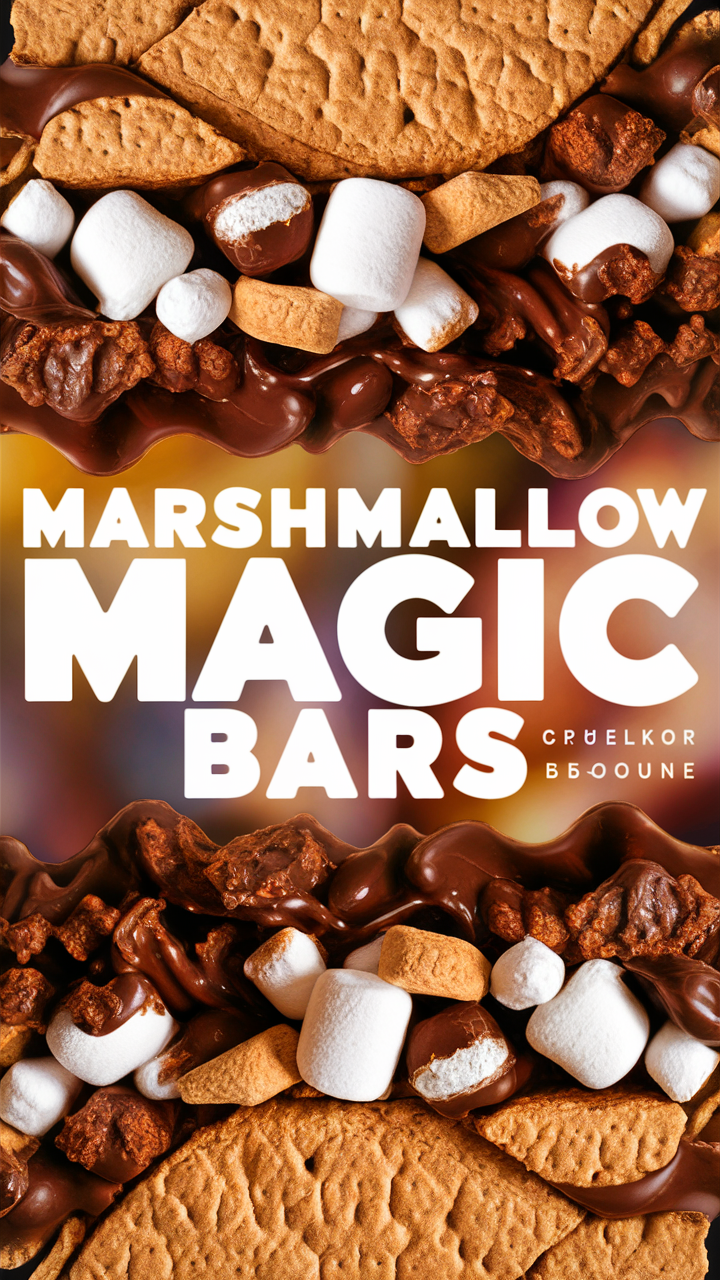
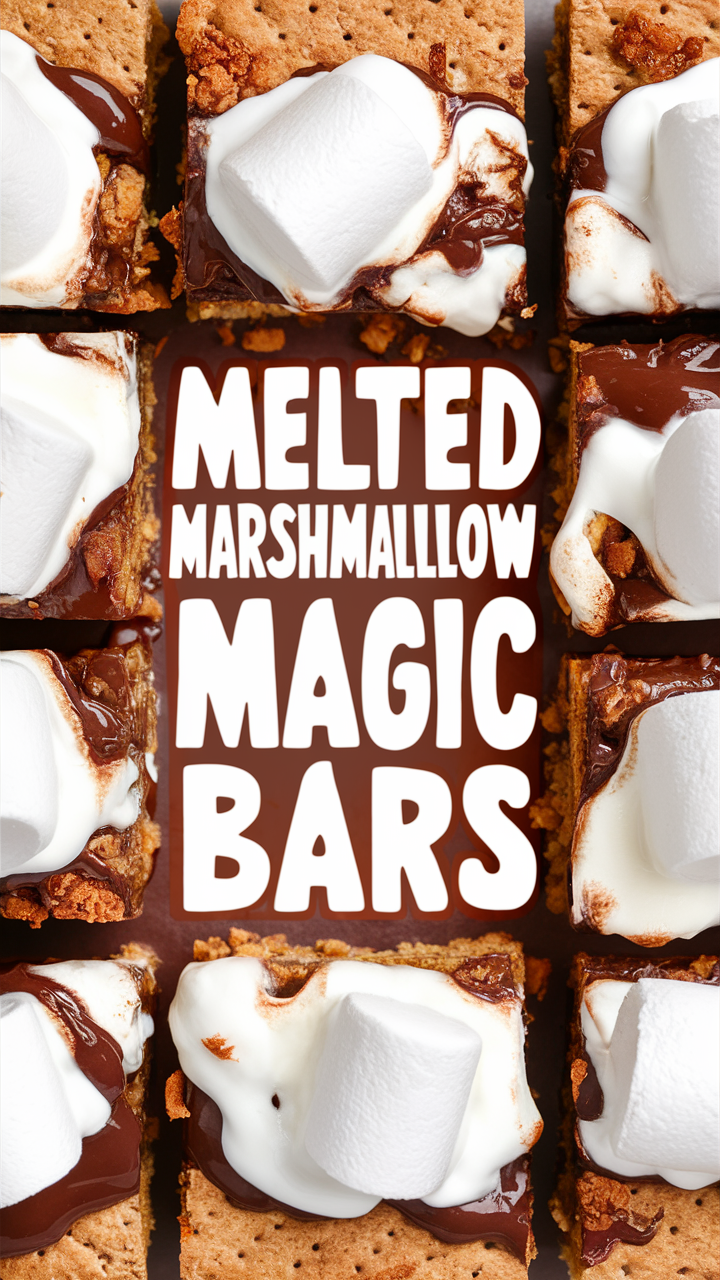
Melted Marshmallow Magic Bars
Disclosure: This post contains affiliate links. We may earn a commission at no extra cost to you.
Cook Tool Requirements
Click Here to Grab Your PAUDIN Kitchen Knife Set
Click Here to Grab Your Large Bamboo Cutting Boards
Click Here to Grab Your Cast Iron Skillet
Click Here to Grab Your Measuring Cups and Spoons
Click Here to Grab Your Silicone Spatula Set
Click Here to Grab Your Mixing Bowls
Click Here to Grab Your Instant-Read Thermometer
Click Here to Grab Your Non-Stick Frying Pan
Click Here to Grab Your Tongs For Cooking
Click Here to Grab Your Microplane Zester
Click Here to Grab Your Colander
Now—Available on Amazon!Melted Marshmallow Magic Bars Recipe
Ingredients
For 1 person:
- 1 cup graham cracker crumbs
- 1/2 cup melted butter
- 1 cup chocolate chips
- 1 cup shredded coconut
- 1 cup chopped nuts
- 1 cup condensed milk
- 1 cup mini marshmallows
For 3 people:
- 3 cups graham cracker crumbs
- 1 1/2 cups melted butter
- 3 cups chocolate chips
- 3 cups shredded coconut
- 3 cups chopped nuts
- 3 cups condensed milk
- 3 cups mini marshmallows
Preparation
Time: 45 minutes
Level: Easy
Cuisine Type: Dessert
- Preheat the oven to 350°F.
- Mix graham cracker crumbs and melted butter, press into a baking pan.
- Sprinkle chocolate chips, coconut, and nuts over the crust.
- Pour condensed milk evenly over the top.
- Bake for 25 minutes, then sprinkle mini marshmallows on top and bake for an additional 5 minutes.
- Cool before cutting into bars and serving.
Nutrition Facts
Calories per Serving: 300
Carbs: 30g
Protein: 5g
Gluten Content: Contains gluten
Why People Love It
People love Melted Marshmallow Magic Bars for their gooey, sweet, and decadent taste that satisfies any sweet tooth.
Best Occasions to Make It
Melted Marshmallow Magic Bars are perfect for potlucks, parties, or as a special treat for yourself.
Steps for the Best
For the best results, ensure the bars are completely cooled before cutting to maintain their shape and texture. Serve with a scoop of vanilla ice cream for an extra indulgent treat!
Tips on Serving
For a fun twist, drizzle melted chocolate over the bars before serving or sprinkle extra coconut on top for added flavor and texture.

Install , search , Coook and enjoy our recipes

Melted Marshmallow Magic Bars: A Controversial Delight
Are you ready to embark on a culinary adventure with our Melted Marshmallow Magic Bars recipe? This controversial treat is sure to spark debate among foodies and dessert enthusiasts alike. With gooey marshmallows, crunchy graham crackers, and a hint of chocolate, these bars are a decadent indulgence that will leave you craving more.
How to Make It More Healthy
If you’re looking to make this recipe a bit healthier, consider using whole wheat graham crackers, dark chocolate chips, and organic marshmallows. You can also reduce the amount of sugar or use alternative sweeteners like honey or maple syrup.
Origin Country of Recipe
The origins of the Melted Marshmallow Magic Bars recipe are shrouded in mystery, with some claiming it originated in the United States while others swear by its European roots. Regardless of its origins, one thing is for sure – it’s a beloved treat around the world.
Best Time to Make It
While these bars can be enjoyed any time of day, they make a perfect indulgent breakfast treat, a sweet pick-me-up during lunch, or a delightful dessert after dinner. The choice is yours!
The Inspiration Behind the Recipe
The inspiration behind these Melted Marshmallow Magic Bars comes from a childhood memory of a summer campfire and the joy of toasting marshmallows. The combination of gooey marshmallows, chocolate, and graham crackers brings back nostalgic feelings and a sense of comfort.
Best Way to Store
To keep your Melted Marshmallow Magic Bars fresh and delicious, store them in an airtight container at room temperature. They can also be stored in the refrigerator for a longer shelf life.
5 Things to Avoid When Making the Recipe
- Avoid overcooking the marshmallows, as they can become too sticky and hard to cut.
- Avoid using stale graham crackers, as they will affect the texture of the bars.
- Avoid adding too much chocolate, as it can overpower the other flavors.
- Avoid cutting the bars while they are still warm, as they need time to set and firm up.
- Avoid overcrowding the baking dish, as it can lead to uneven cooking.
How to Make It Gluten-Free
To make this recipe gluten-free, simply use gluten-free graham crackers or a gluten-free cookie crust as a base. Ensure that all other ingredients are certified gluten-free to avoid any cross-contamination.
How to Make It Dairy-Free
To make this recipe dairy-free, use dairy-free chocolate chips and dairy-free marshmallows. You can also substitute butter with a plant-based alternative like coconut oil or margarine.
5 Common Questions About Melted Marshmallow Magic Bars
- Can I use mini marshmallows instead of regular ones? Yes, you can use mini marshmallows for a different texture.
- Can I add nuts or dried fruit to the recipe? Absolutely! Feel free to customize the recipe with your favorite mix-ins.
- Can I freeze these bars for later? Yes, these bars freeze well and can be stored for up to three months.
- Can I use a different type of chocolate? Yes, you can experiment with different types of chocolate to suit your taste preferences.
- Can I make these bars ahead of time? Yes, you can prepare these bars in advance and store them in the fridge until ready to serve.